Adventures in Baking Canelés (Cannelés) de Bordeaux: Part 2
When I took on this cannelé-making project*, I had no idea how much effort it would involve. From research, to sourcing out materials like beeswax and copper molds, to experimenting with the actual baking process… It was quite the task, but the results were worth the effort.
I’ll be honest, making the batter wasn’t very difficult. The baking process however, that’s a whole other story!
(*If you haven’t read part one of my Cannelé Project, click here.)

Coating the Molds
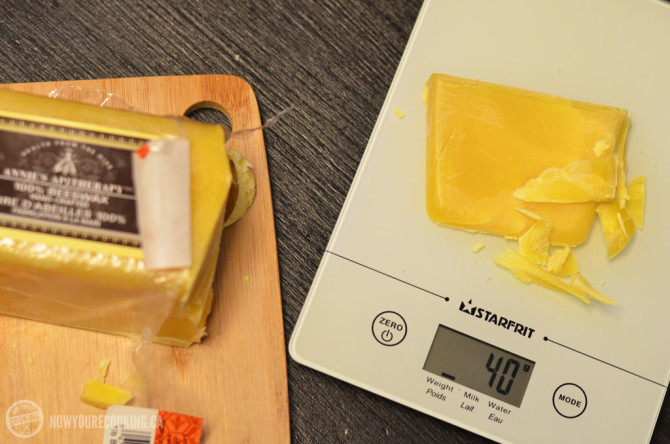
I was delighted when I finally tracked down food-safe, 100% pure beeswax at the Bees Are Life Store in mid-town Toronto.
The cannelé batter that I had made earlier had been resting in the fridge since the Tuesday night, and I tackled these babies on Friday morning. 5 days probably the max you’d want your batter in the fridge when you’re baking these pastries. Paula Wolfert says you can even freeze cannelé batter for up to two weeks, then defrost once you’re ready to bake.
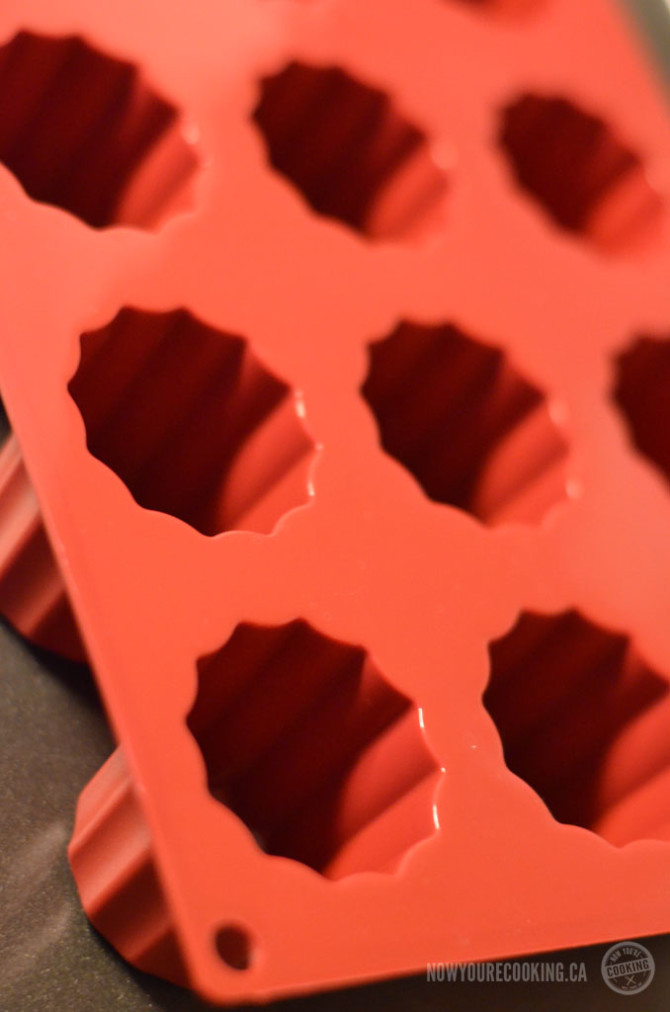
Coating my silicone molds was the tricky part. Not only was I using a silicone mold, but I was only using a silicone spatula which was a tad too large for the mini molds (now I have an excuse to do more kitchen gadget shopping).
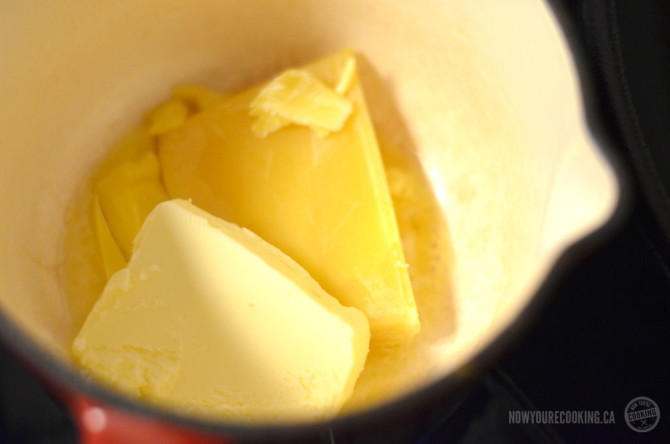
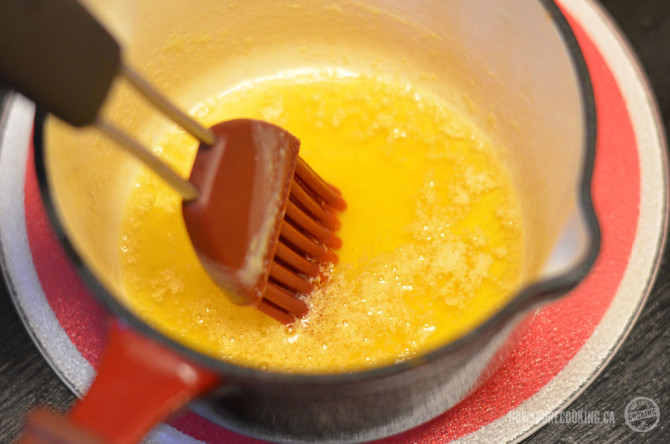
After melting equal parts of butter with the beeswax (I used 40 grams of each) over low heat, I poured a bit into each cavity of my warm-silicone mold. I had put the mold in a warm oven for a couple of minutes so that the beeswax mixture wouldn’t seize up when I coated it, and used the brush to try to coat the insides. Invest in a silicone pastry brush if you’re going to work with beeswax. Trust me. You’ll thank me later when clean up is a breeze.
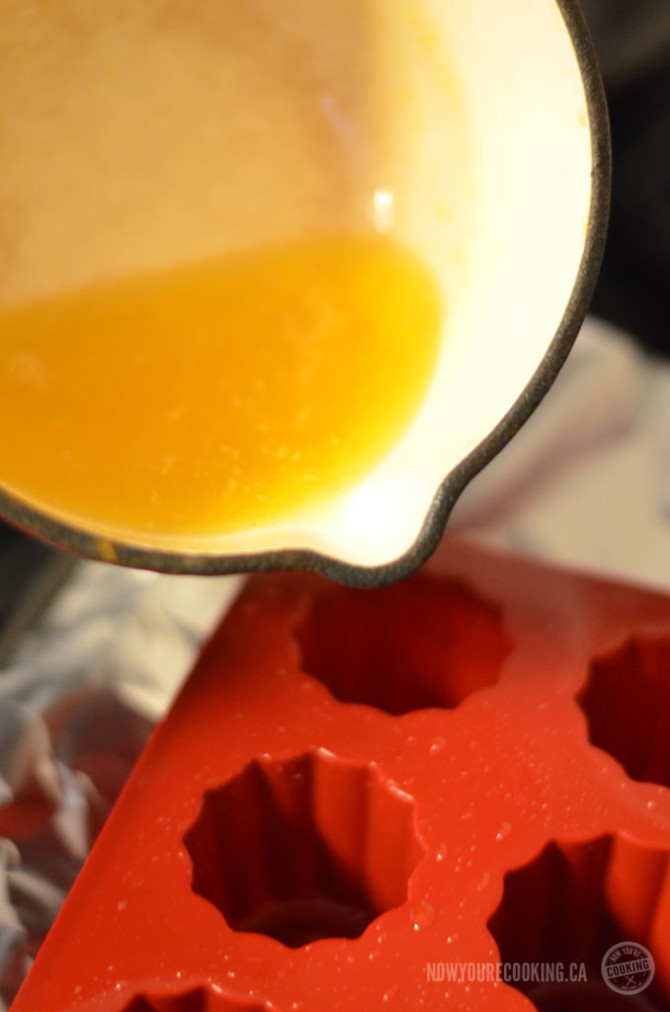
I admit that I got a little impatient and thought that swirling the warm mixture around in the molds and then dumping it onto some parchment paper to get rid of the access would make things easier–it didn’t. Ended up with a partial “paraffin hand wax”, but at least my hands were nice and soft afterwards! 🙂
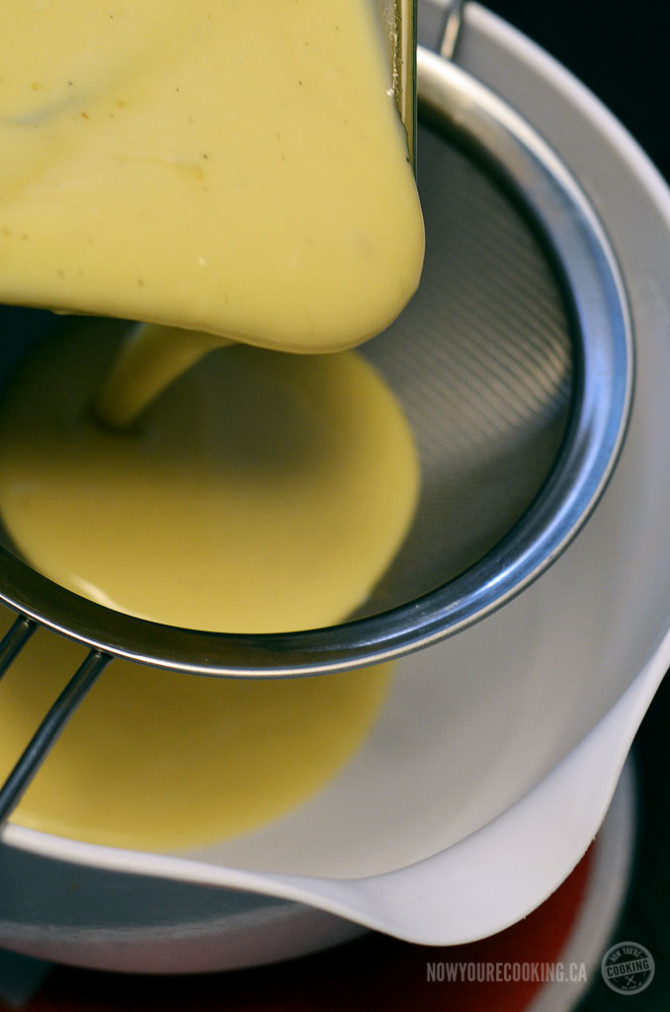
After coating, I put the molds in the fridge for little while I got the batter ready. I wanted to make sure that the cold batter (strained with a fine mesh sieve) was poured into a cold mold so that everything’s easily coated.
Baking the Cannelés
My oven was preheated to 470°F. Honestly, I was afraid to put it any higher (as some cannelé recipes call for this) for fear of melting my silicone molds which had an oven-safe temperature of 446°F. No one wants a cookie sheet covered in melted silicone goo!

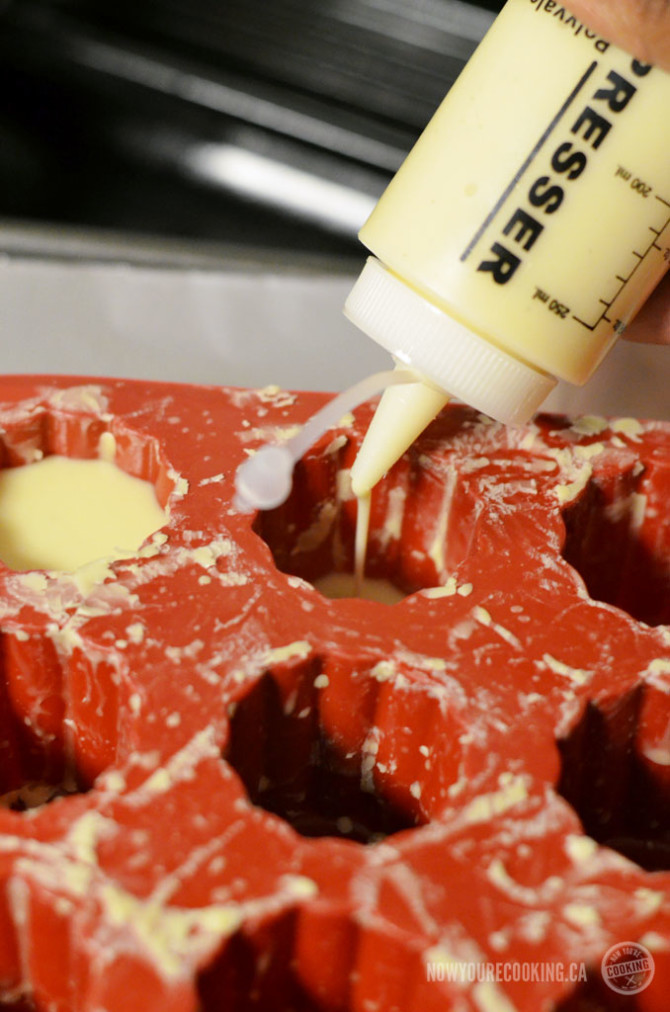
What I found insanely helpful (especially after my hand wax fiasco) was using a squeeze bottle to pour the cannelé batter into the individual molds. I left about 3mm space from the top of each cavity. Place your filled silicone molds on a lined baking tray to catch any spills or beeswax drippings.
It’s important that you’re oven is at the right temperature. Opening the oven door and even having your batter in the oven can affect the temperature. After reading a post by Chez Pim, I planned to bake my cannelés at 450°F so by immediately reducing the oven temperature to this number should compensate for all the other variables.
After baking my cannelés for 15 minutes at 450°F I reduced the temperature to 375°F and rotated the pan (this helps ensure a nice, crisp crust). I kept on rotating the pan every 15 minutes until an hour had passed.
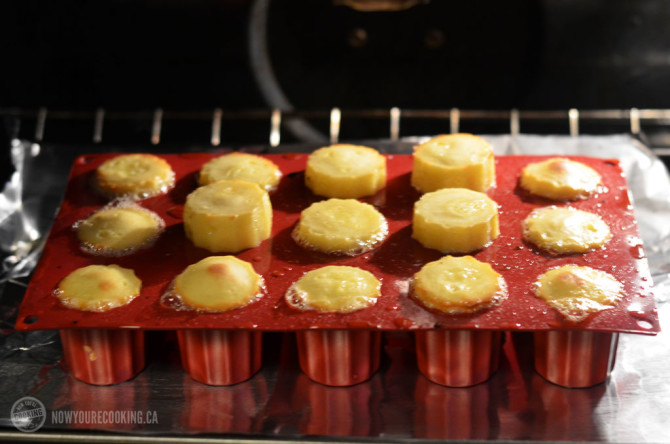
I noticed some of my cannelés puffed up as they were baking. I was hoping they wouldn’t explode! Surprisingly they settled back down to normal size by the time I took them out of the oven.
The Results
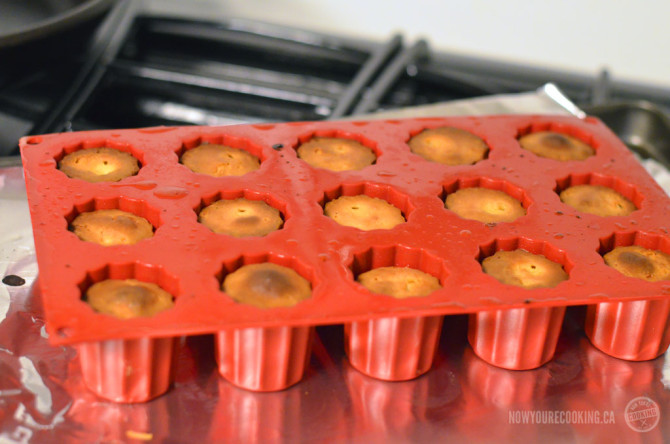
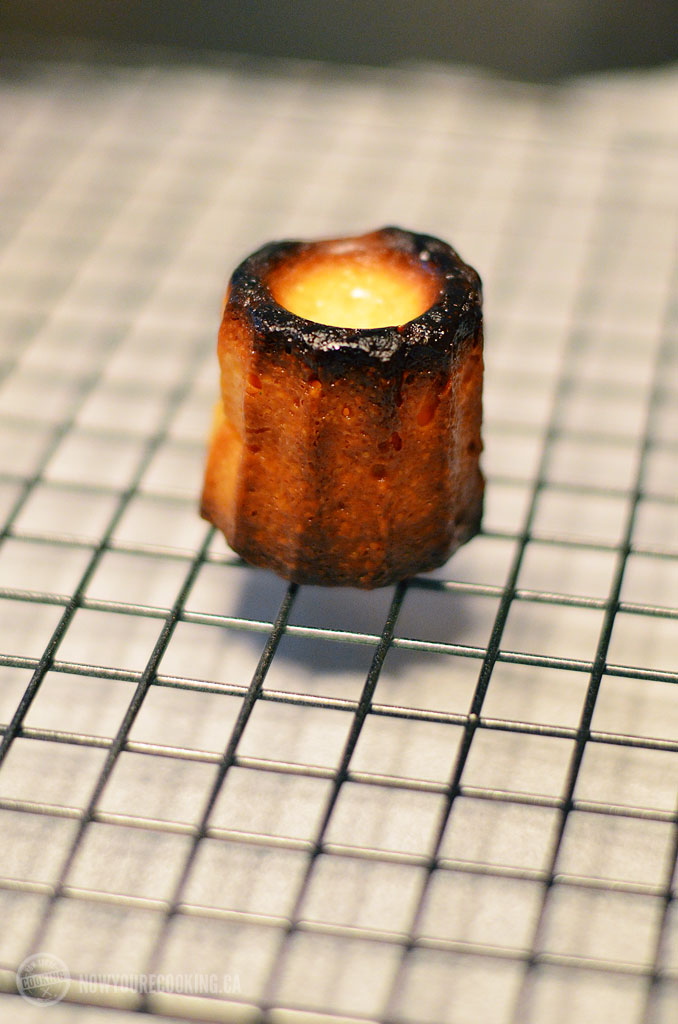
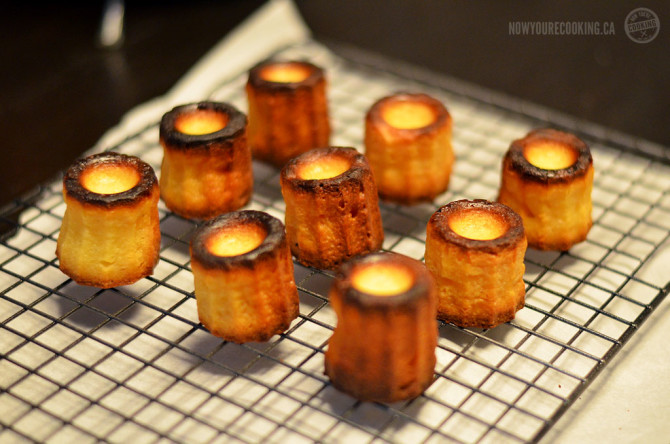
A couple minutes after I removed the cannelés from the oven, I popped out one from a corner of the mold to see how it came out. Looked great! I proceeded to removed them all and place them on a wire-rack to cool, but I noticed that some of my cannelés weren’t as dark as the others. So I put those ones back in the molds and baked them for another 15 minutes.
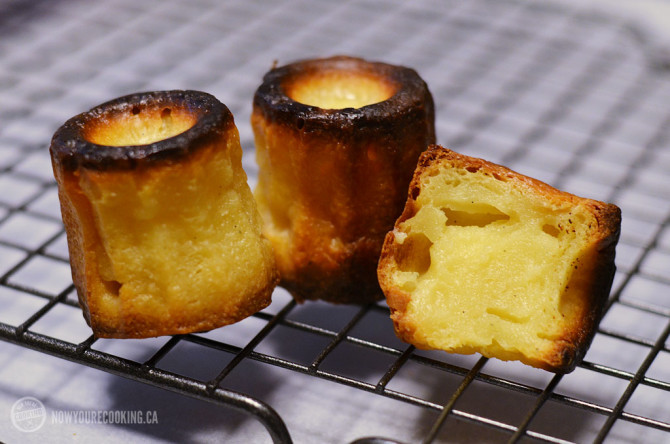


One thing I found about the cannelés that I made was that they were a lot more “custardy” on the inside, as I was anticipating them being a tad more airy. I think this is because I let the batter rest for almost 72 hours so the flour completely absorbed the liquid, thus making it super-smooth.
It didn’t affect the taste though, because I still found them delicious. So delicious in fact that I ate the whole batch by the next morning. Perhaps next time I try the recipe, I’ll opt to use a couple whole eggs, and maybe not let the batter rest so long (I’ll aim for 36 hours next time). I might experiment with not lining the silicone molds at all, and see how the cannelés come out, though I’d doubt they’d get the same amout of sheen nor crisp. I’ll also try to save up for a few copper molds (they run about $50 each) so that I can really see the difference.
I’m so grateful that Redpath Sugar introduced me to this delectable French pastry. The cannelé-making process can be a bit complicated, but once you get your feet wet and taste your tasty creations, you’ll be eager to try baking them again!