Adventures in Baking Canelés (Cannelés) de Bordeaux: Part 1
I remember sitting outside a quaint, little French pâttiserie in the town of Bordeaux, France several years ago on a warm, Spring day. As I sipped on a tiny cup of espresso and had my first bite of a delectable pastry called canelé…
Okay, so that didn’t happen (although that’s how I wished my first canelé experience went down). I haven’t even been to France (though it’s on my bucket list). The real story? I had my very first taste of canelé a couple of days ago from a Toronto pâttiserie called Nadège. And I fell in love (with the pastry that is).
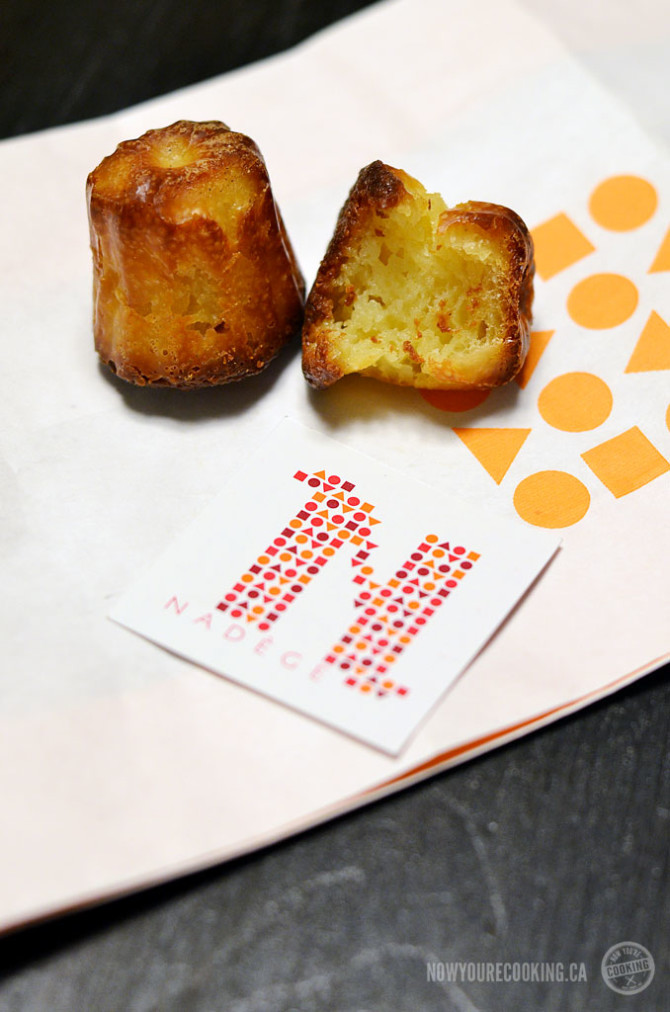
Part of the “adventure in canelé” was first finding a place in Toronto that sold them so that I can know what it tasted like before I actually tried baking it myself. Nadège seems to be the only place nearby that does. Looks like I’ll be planning another trip to the province of Quebec soon.
How is it that I’ve went my whole life without hearing about this delicious, mini French pastry? As often as I travel to Montreal, you’d think I’d have some exposure there. But I guess with poutine as my food kryptonite, canelés didn’t stand a chance at my restaurant outings in Quebec.
The History
Although the exact timeline of canelé (pronounced kah-neh-LEH) is a bit murky (some say dating more that over 300 years ago), we do know that these little custardy cakes have their origin in the Bordeaux region of France.
Some say that before the French Revolution nuns baked canelés with egg yolks donated from local wine makers who used the egg whites to clarify their wines. Others say that Bordeaux residents salvaged the flour that spilled onto the loading docks to bake sweets for poor children.
What ever the origin, I know one thing: Canelés are delicious! The genius lies in their simplicity as well as their contrast of textures. Flour, eggs, sugar and milk are the basic ingredients, with vanilla and rum added in for flavour. The custard batter is traditionally poured into fluted copper molds and baked at a high temperature for an hour or so. They have a crisp, caramelized crust, with a soft, custard-like interior.
Some of you might me wondering about the alternate spelling. During my research, I was too after seeing the French pastry spelled “canelé” and “cannelé”. So which one is correct?
In 1985, when canelés increased in popularity, a brotherhood was formed (wow, this sounds like a movie).
They staged a “linguistic coup d’etat” by removing one of the n’s from the old spelling (cannelé) to differentiate their cake, with its secret method of preparation, from bastardized versions. Today, canelé de Bordeaux is the official cake of the city, while cannelé bordelais is a generic name used in Paris, New York City, Osaka, Los Angeles, etc…
So I guess I should start spelling it with two “n’s” now since I’m not in the “secret society of canelés” and making a more generic version…
The Project
When I saw that Redpath Sugar was looking for some food bloggers to participate in a baking project, I was all for it. I love experimenting in the kitchen and I know there are a lot of food I have yet to try. So when I first learned about cannelé I was intrigued. I love all things French (even currently trying to become more fluent in the language), and learning about French cuisine in particular will be an asset to my food repertoire. Check out this short video that gives a nice glimpse into the history of cannelé (en Français avec English subtitles):
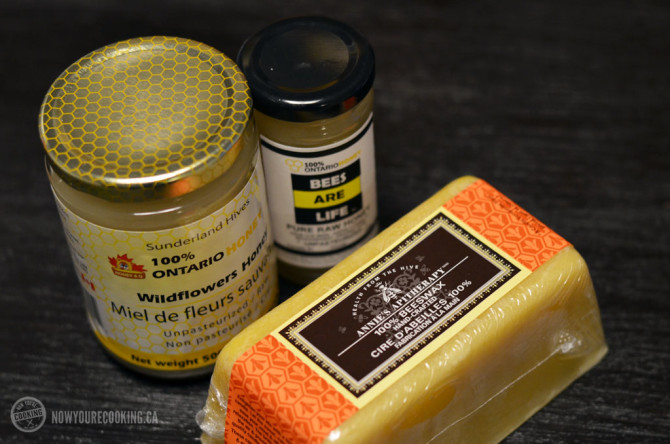
After perusing some cannelé recipes online, and knowing that baking cannelés is a multi-day process, I knew I had to get all the ingredients on-hand before I got started. I was only missing one thing: Beeswax. This is what gives cannelés their shine and crispiness.
I had a mini adventure trying to locate a good stick of food-grade beeswax to coat my cannelé molds. I tried the honey seller in St. Lawrence Market, natural food stores and even Whole Foods. All that I found were beeswax candles that have all seemed to go through some sort of processing that I was doubtful would be good enough for baking with. Thanks so an Ontario Bee Association online search I came upon this little shop on Eglinton West called Bees are Life. They had such a large variety of different types of honey, and most importantly pure beeswax. Founder of Bees are Life, Cathy Kosma, was extremely knowledgable and I even picked up a couple extra tasty jars of honey! If you’re trying this recipe at home, you’ll probably need a couple of ounces of beeswax to coat your molds. An ounce will run you about $2.50. If you’re having trouble finding food-grade beeswax, try contacting your local honey producer or seller at a farmer’s market.
The Ingredients
I noticed that most of the cannelé recipes I’ve read online or seen on YouTube have the same ratio of ingredients. The only variation I did notice was in the procedure. While some recipes stated to whisk in the eggs with the flour and sugar, others called for tempering the eggs first with the warm milk mixture before adding it to the dry ingredients.
I opted to go with the tempering method, as it seemed to be a better way to seamlessly incorporate all the ingredients. The Recipe I followed is by Bruno Albouze from The Real Deal Cooking Channel on YouTube. I figured I’d go with a chef who grew up in Bordeaux and actually made this pastry on a regular basis in order to make sure my cannelés came out as authentic as possible. Here are the ingredients from his Canelé de Bordeaux recipe, adjusted to metric measurements (I also added in some salt):
- 500ml whole milk
- 45g unsalted butter
- 1 vanilla bean
- 4 egg yolks
- 150g cake & pastry flour
- 225g fine granulated sugar
- 20ml dark rum
- pinch of salt
- 20ml Grand Marnier (or orange-flavoured liquor)
Some recipes I viewed used 2 egg yolks and 2 whole eggs (like the one on the Redpath website) and others just used 4 egg yolks. I opted to use just the egg yolks because… well, that’s what those nuns used. 🙂
The Method
I did my mise-en-place by weighing all my ingredients and getting my equipment and utensils ready. You’ve all probably heard of baking being referred to as a science. With science comes precision and accuracy, and that’s what weighing will provide you with compared to volume measurements (e.g. cups). If you don’t have a scale, it’s not a huge deal, but I wanted to make sure that my cannelés came out close to perfect.

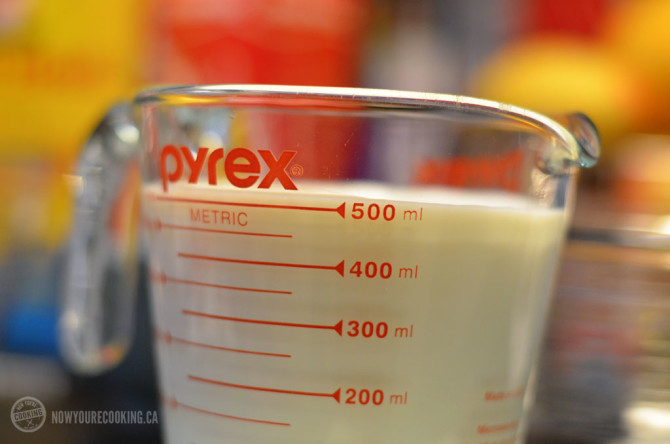
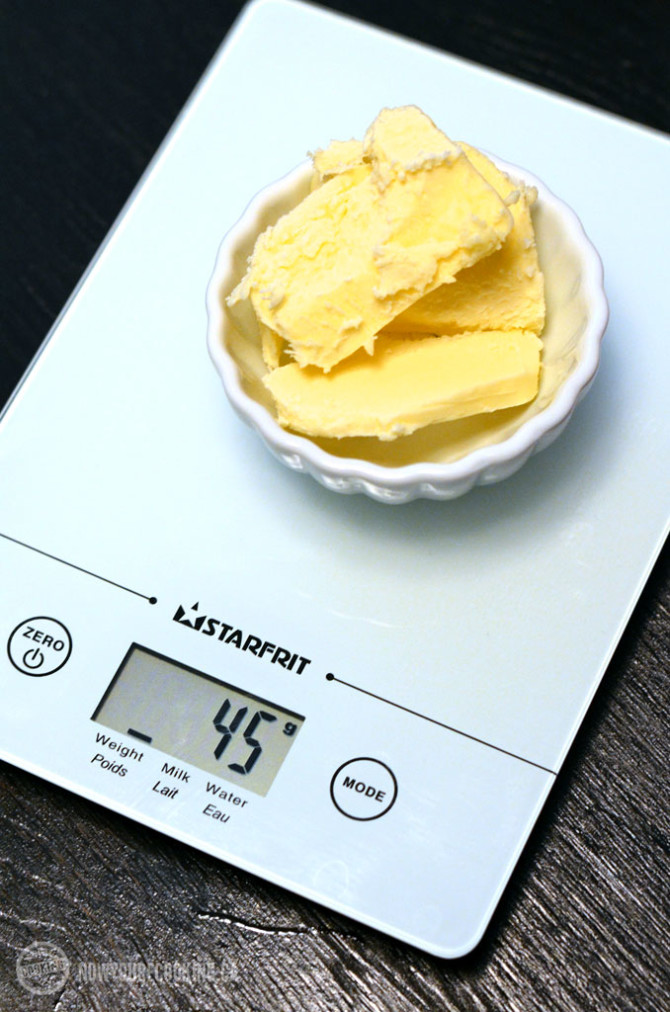
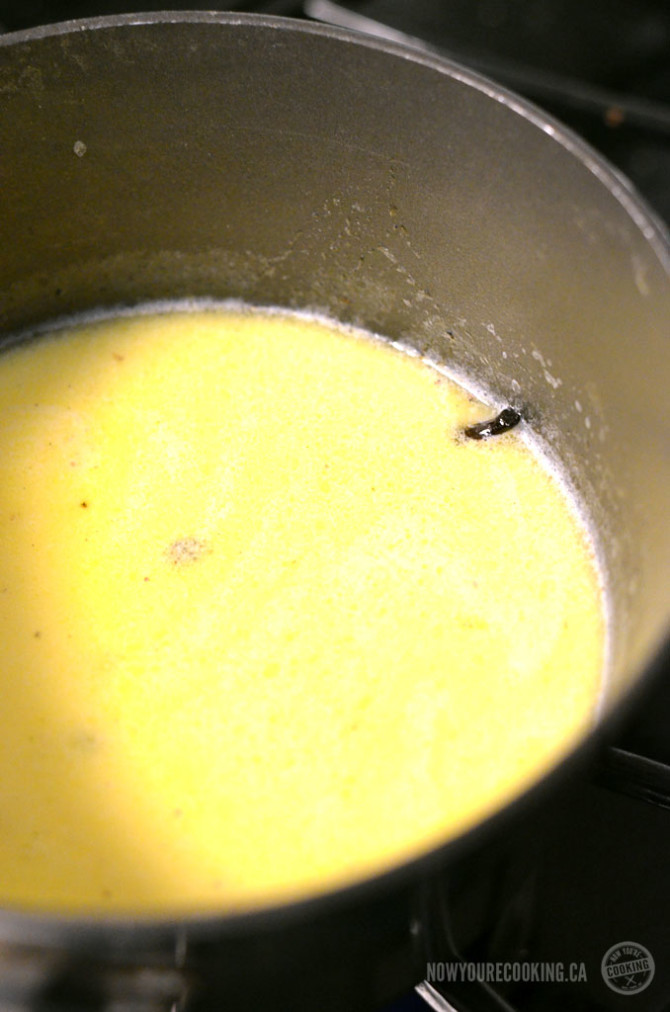
I combined the milk, butter and scraped vanilla bean in a saucepan and heated it until the mixture was 185°F. Turning off the heat I allowed it to cool down for a couple of minutes while I got the dry ingredients ready.
I sifted the flour, sugar and salt into a bowl and whisked them together. In another bowl I used a rubber spatula (you can also use a fork) to gently break and mix the egg yolks.
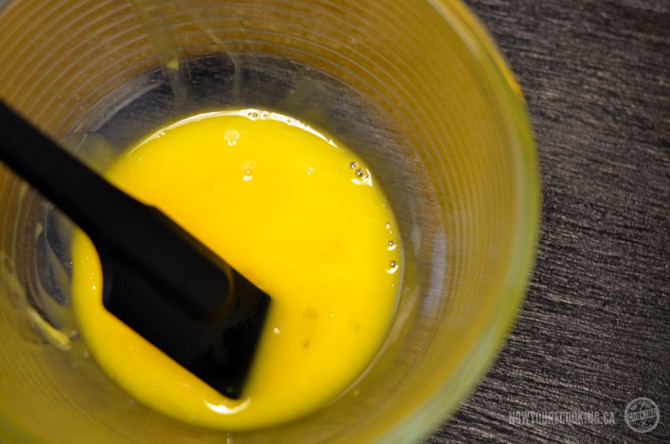
You want to try not to incorporate too much air into the batter, or your cannelés will rise too much. I slowly poured the hot, custard mixture into the egg yolks a little bit at a time to temper them (make a mistake here and you’ll end up with scrambled eggs) mixing gently with the spatula.
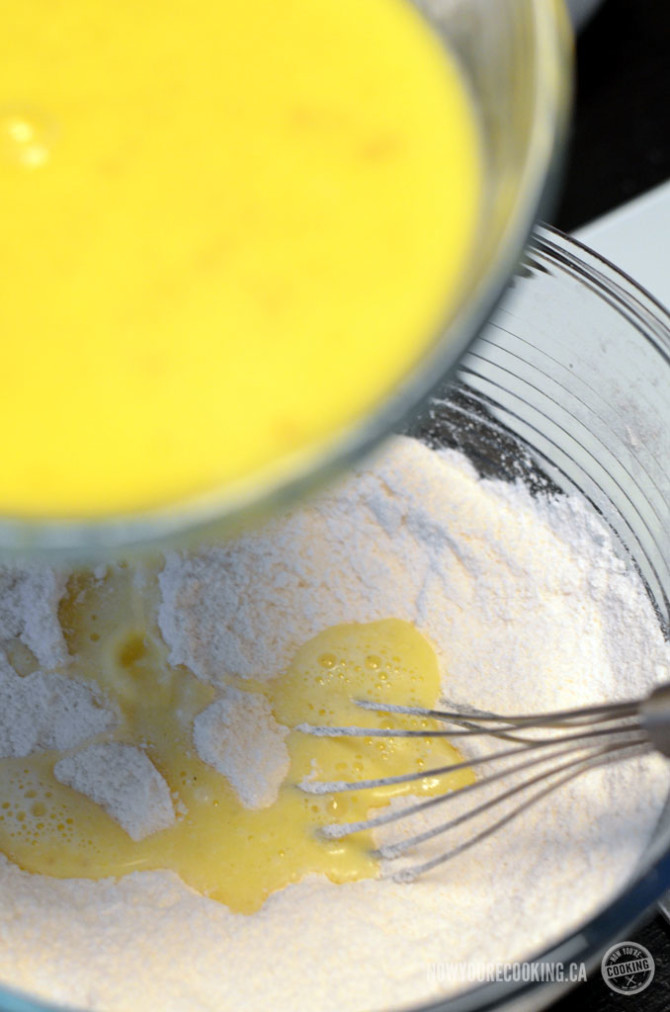
Then I streamed the custard mixture into the dry ingredients and continued gently mixing, but this time with a whisk, because I didn’t want any lumps either. Then I stirred in the 40 ml of alcohol (luckily my bar is always fully stocked).

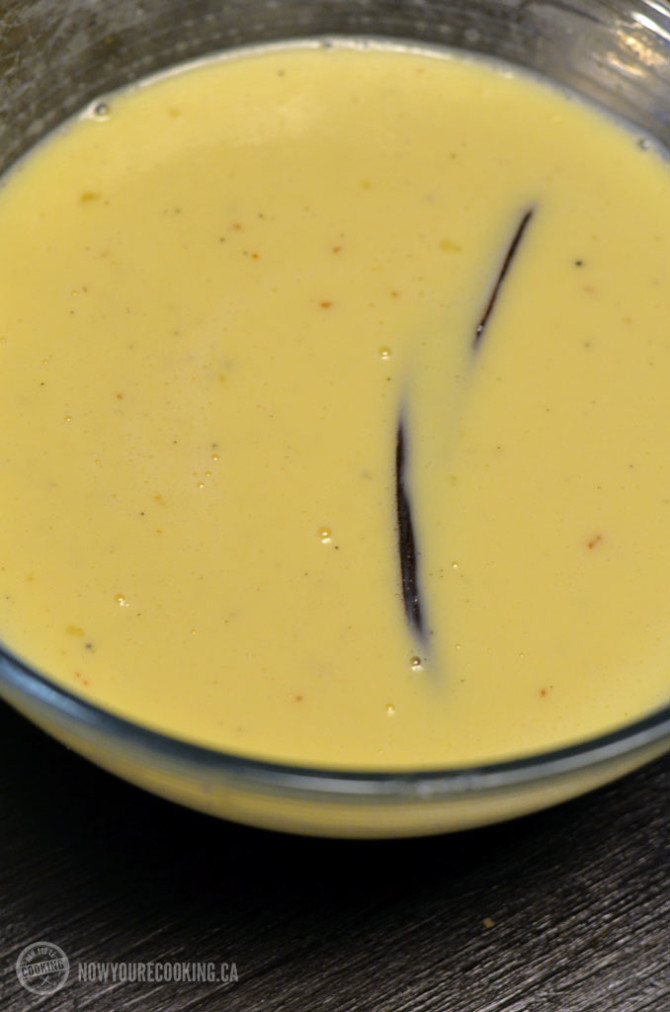
Leave the vanilla bean in the batter, as it will continue to add flavour while it’s resting in the fridge.
Like crêpe batter, cannelé batter must rest overnight in the refrigerator to allow the flour to absorb the liquid completely. Fully hydrated flour particles cook more evenly, making a fine, smooth texture.
My cannelé batter has been in my fridge since Tuesday afternoon. Ideally you want your batter to rest in the fridge anywhere between 24 hours to 3 days. So it looks like it’s time for me to bake this delicious, little morsels.
Helpful References:
Cannelé Websites
Redpath Sugar: Traditional Cannelé
The Art of Eating: The Cannelés of Bordeaux
Chez Pim: Canelés (Cannelés) de Bordeaux – the recipe, the madness, the method
Paula Wolfert – Canelé de Bordeaux
Bruno’s Kitchen: The Canelé
Wikipedia: Canelé
Cannelé Videos
The Real Deal, by Bruno Albouze: The Canelé Recipe
Marmiton: Cannelés – Recette Facile
Chow: The Perfect Canelé


6 Comments