Easy Cheddar Jalapeño Dutch Oven Bread
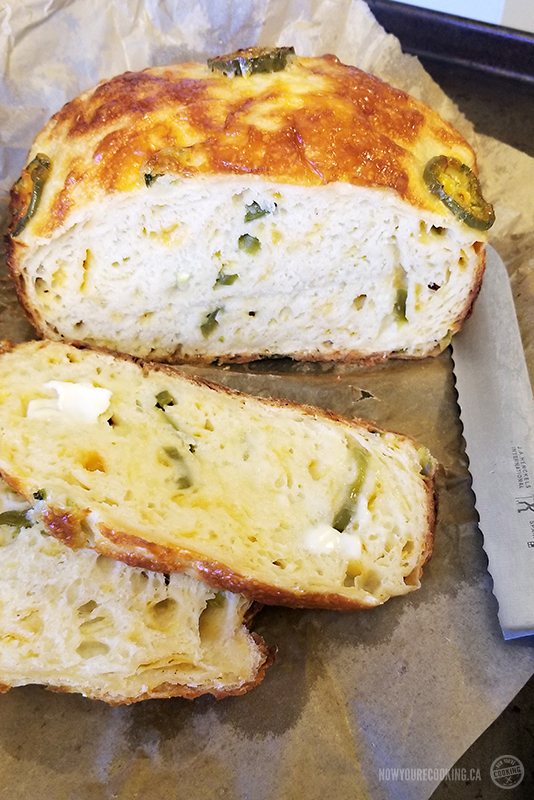
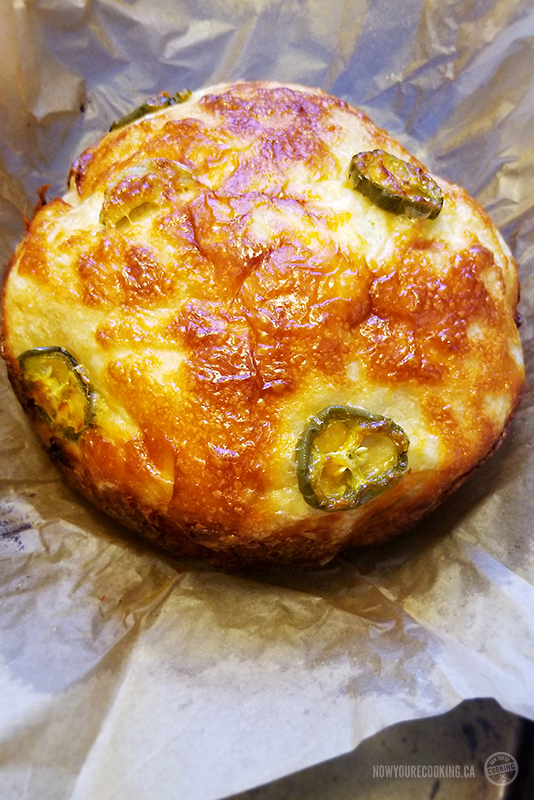
This savoury, no-knead bread is so simple to make, and is ready to eat in under three hours. With it’s chewy interior texture an a golden, crispy crust, it’ll seem like you got it from an artisan bakery!
With all this extra time on my hand recently, I (along with 99% of the rest of the general public seeing as how yeast has been out of stock online for weeks now) decided to practice my bread-baking skills.
I absolutely love bread. It was so hard to be deprived of it when I was trying out that keto diet, but now that I’m back on the carb train, this bread is definitely my next go-to. This loaf comes out so crusty and cheesy. If you like it spicy, this will definitely hit the spot as well (although next time I think I’ll add more jalapeños or even green chilies).
Making bread at home might seem like a daunting task, but I assure you: from this recipe, you’ll be making it more often. I’m telling you, this bread is so easy to make, yet looks like it came right out of the oven of an artisan bakery! Even if you’ve never baked before in your life, you’ll be able to whip up this delicious loaf of savoury, cheesy goodness.
You’ll need a dutch oven or an enamel-lined cast iron pot with an oven-proof lid. Cooking it in the dutch oven this is what gives this bread it’s nice, crispy crust. It also helps give the dough a nice “steam bath” which is what it needs to rise nicely.
I’ve seen this dutch oven technique before, but never attempted it before trying this bread for the first time. But now that I did, I’m not sure if I’ll try to bake bread the old-fashioned way anytime soon (yeah, I know: patience is a virtue). This loaf can be read on your table in less than three hours. No need (pun intended) to wait a day for the dough to rise (although you can if you want).
Remember: The bread continues to bake as it cools, so try not to cut into the hot loaf immediately when you take it out of the oven. I had no patience the first time I baked this and was dying to try a slice, and it was a tad gummy because of that (but still tasted delish). So make sure that your bread cools for at least an hour outside of the dutch oven. It can be kept at room temperature wrapped in its parchment paper (or covered in plastic wrap if you want to soften up the crust) for up to three days. It will most likely be eaten before that because it’s so good!
Make sure you read the recipe notes, as they have some helpful tips that’ll make your jalapeño cheddar bread come out perfect!
Easy Cheddar Jalapeño Dutch Oven Bread
Ingredients
- 3 cups [450g] all-purpose flour
- 1/2 tsp instant yeast
- 1 tsp granulated sugar
- 1 1/2 tsp salt
- 1 1/2 cups cheddar cheese shredded
- 2 jalapeño peppers diced
- 1 1/2 cup [250mL] very warm water
Topping
- 1 tbsp olive oil
- 1/3 cup of cheddar cheese shredded
- 1 jalapeño sliced into rings
Instructions
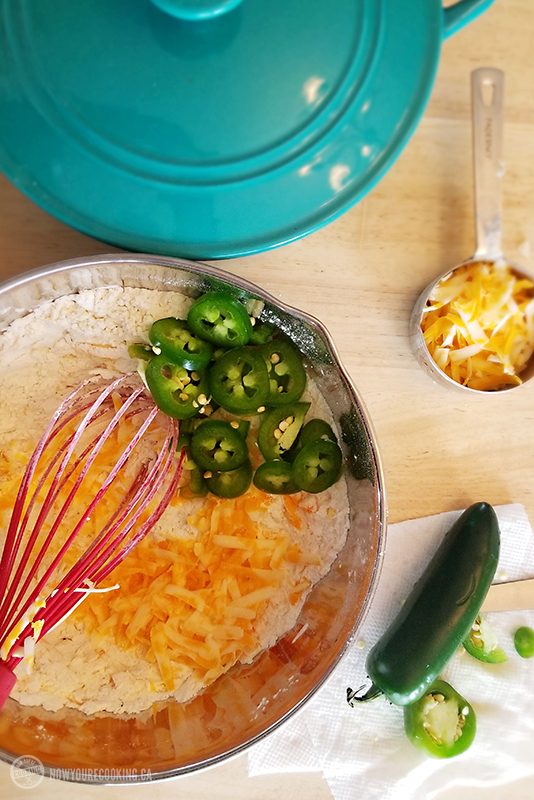
- In a large bowl, mix together the flour, yeast, sugar, and salt. Sprinkle in the cheese and diced jalapeño peppers, and mix until combined.
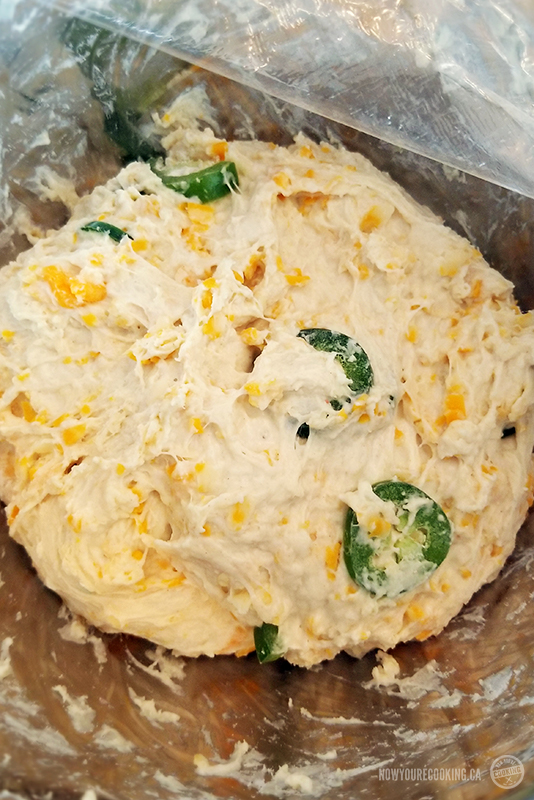
- Slowly pour in the warm water and mix with a large spatula, until the dough comes together (it will be loose and sticky).
- Cover and let rise in a warm place for at least one hour (it should almost double in size).
- After the initial rise, turn the dough onto a well-floured work surface and sprinkle with a bit more flour.
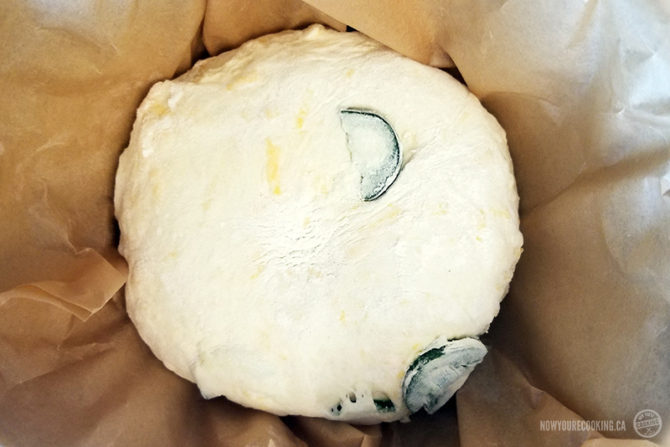
- Using a bench scraper or floured hands, pull up on the dough from the edges and flip it onto itself towards the middle, forming a round ball (about 8-10 times).
- Flip over (so that the smooth, round side is facing up) and place onto the middle a bowl lined with a large sheet of parchment paper. Cover and allow to proof while you get the oven ready.
- Preheat your oven to 450°F (230°C) while the dutch oven with the cover is inside (about 30 minutes).
- Using oven mitts, carefully remove your hot dutch oven from the oven and rest it on the stove-top or trivet.
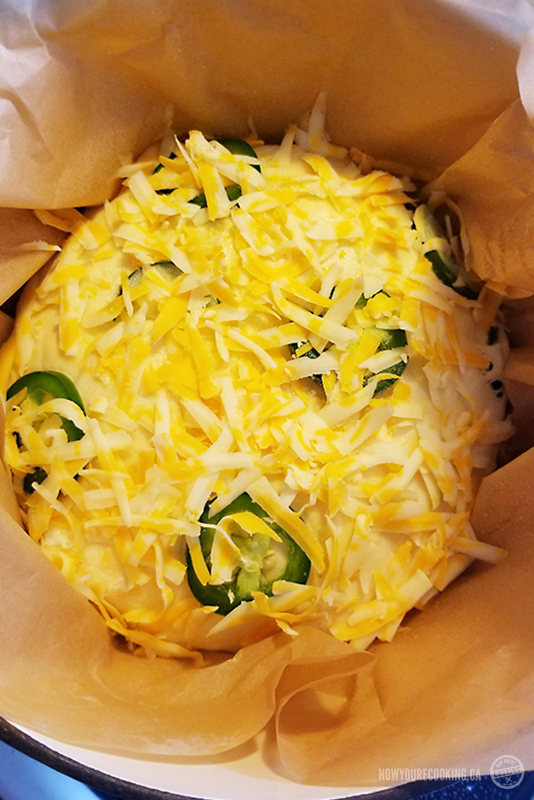
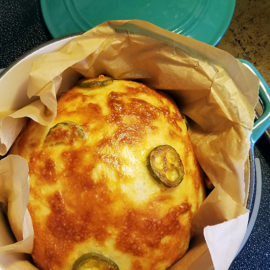
- Holding onto the edges of the parchment paper, place your dough into the dutch oven.
- Brush the top of the dough ball with olive oil, evenly sprinkle shredded cheese and decorate with jalapeño slices. Cover and bake for 30 minutes.
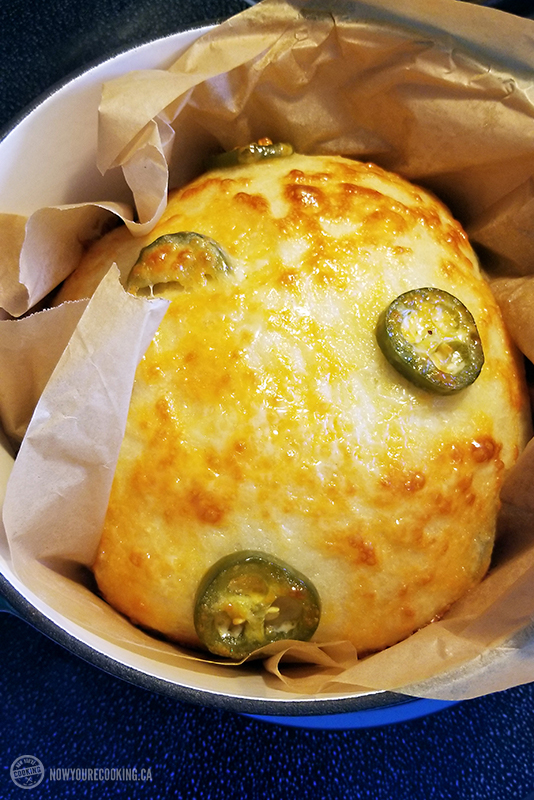
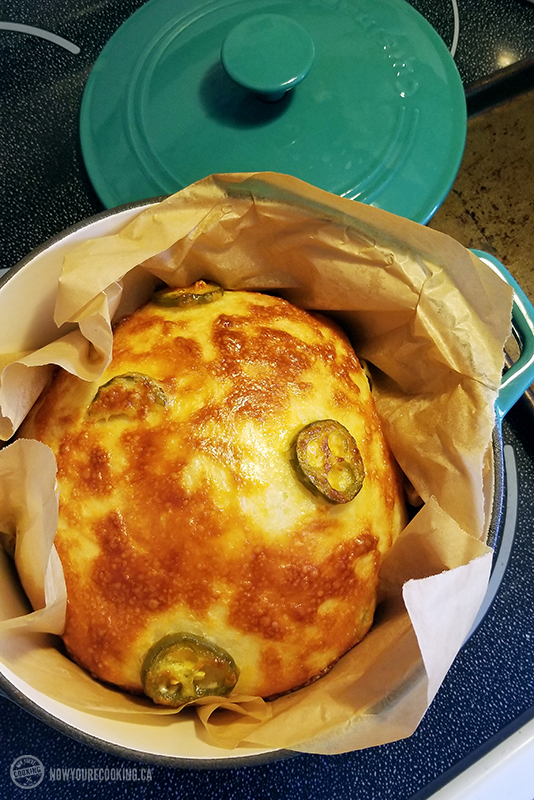
- Remove the lid from the dutch oven, reduce the temperature to 400°F and continue baking for an additional 15-20 minutes.
- Holding onto the parchment paper, carefully transfer the bread on to a wire rack, to ensure a crisp crust. Let cool for at least 30 minutes before slicing.
Notes
- If you don't have instant yeast, but have dry active yeast, proof it in the warm water for 5 minutes first instead of adding it directly to the flour.
- The sugar in the dough is optional, but it helps feed the yeast and enhances the flavour of the bread.
- Be careful not to overlap your yeast and salt directly in the bowl: salt can kill the yeast, rendering a flat bread.
- If you have the time, feel free to let the dough proof for 12 hours or overnight before you put it in the oven. I assure you that this recipe is very forgiving and the bread will taste just as good with only 1-hour initial rise. It also rises well when it's covered in the dutch oven.
- If you have bread flour, you can use it in place (or half and half) of all-purpose if you want a lighter loaf. Bread flour has a bit more protein, so it will help with rise. You may need to add a bit more water to the recipe if using.
- Try not to over knead the dough after the first rise by handling it too much. About 10 folds of the dough on a floured surface should be enough right before you place it in the dutch oven.
- If desired, make a few slits in the top of the dough with a sharp knife after you've sprinkled your toppings and prior to baking.
- The loaf can be kept covered in parchment paper at room temperature for up to three days. It freezes well, just be sure to cover in plastic wrap and store in a resealable bag.